Growing food

Brassica Vegetables: Secrets to Thriving Plants

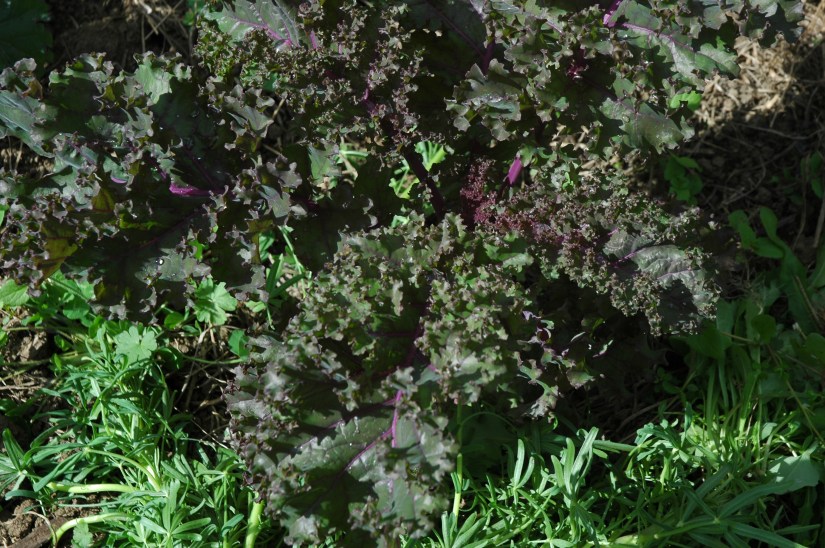
If you’ve been on any health kick, you’ve likely heard someone highlight the benefits of cruciferous vegetables. You’ve probably eaten some too. The most familiar in this group are brassica, e.g. broccoli, pak choi, cabbage and cauliflower. Others include the much-touted rock star vegetable kale. There is also the unusual-looking kohlrabi. My current favorite is the nutrition powerhouse collard greens.

However, eating these vegetables is one thing, but growing them can leave you feeling a little underwhelmed. You question your gardening skills when your broccoli is hit by white butterflies, the kale gets covered in whitefly and seedlings are demolished by slugs and snails. While much advice focuses on using slug bait, chemical fertilizers, and manures, there are some key principles. These principles can help you grow healthy plants.

Crop rotation 

Vegetables require a good level of soil fertility and by rotating crops around and incorporating cover crops and compost, the heaviest feeders like brassicas, can go into a more fertile part of the rotation cycle. Another advantage of crop rotation is it helps to reduce disease and weed pressure. Even if you are planting a mix of vegetables, some form of crop rotation of annuals can help soil health. 

Ideally, leave a gap of three to four years between each brassica crop. In raised beds, it’s possible to plant different families in each bed and rotate them between the beds.

If you have the space, start each crop rotation cycle with a green manure crop. We use a mixed cover crop including clover. We leave this in for 18 months and this acts to grow the soil microbiology and we cut and drop the cover crop multiple times during this phase. But even just one season using a cover crop like lupins and phacelia, to build fertility and organic matter, can help to get the soil humming.

After this initial cover crop I plant potatoes and once harvested, in go the first late summer brassica crops.

Mulching and compost

Red kale with lupins cut and dropped as a mulch

Mulch not only keeps the moisture in, but it also adds to fertility as it breaks down. You can mulch with cover crops, compost, straw, grass and even weeds (not invasive ones or ones which have gone to seed).
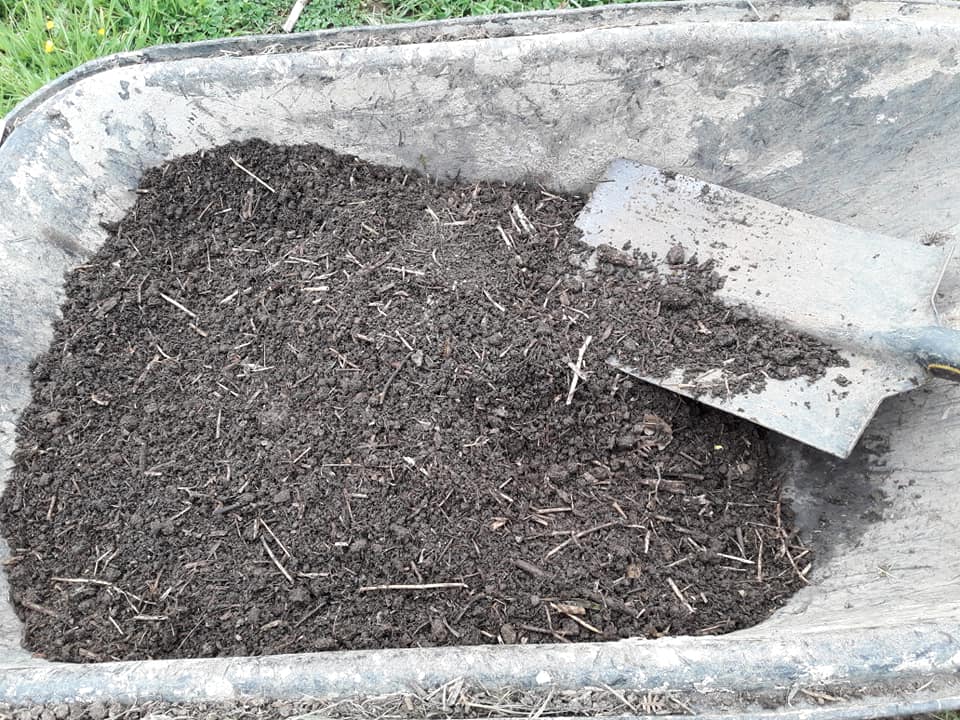
Seeds and seedlings

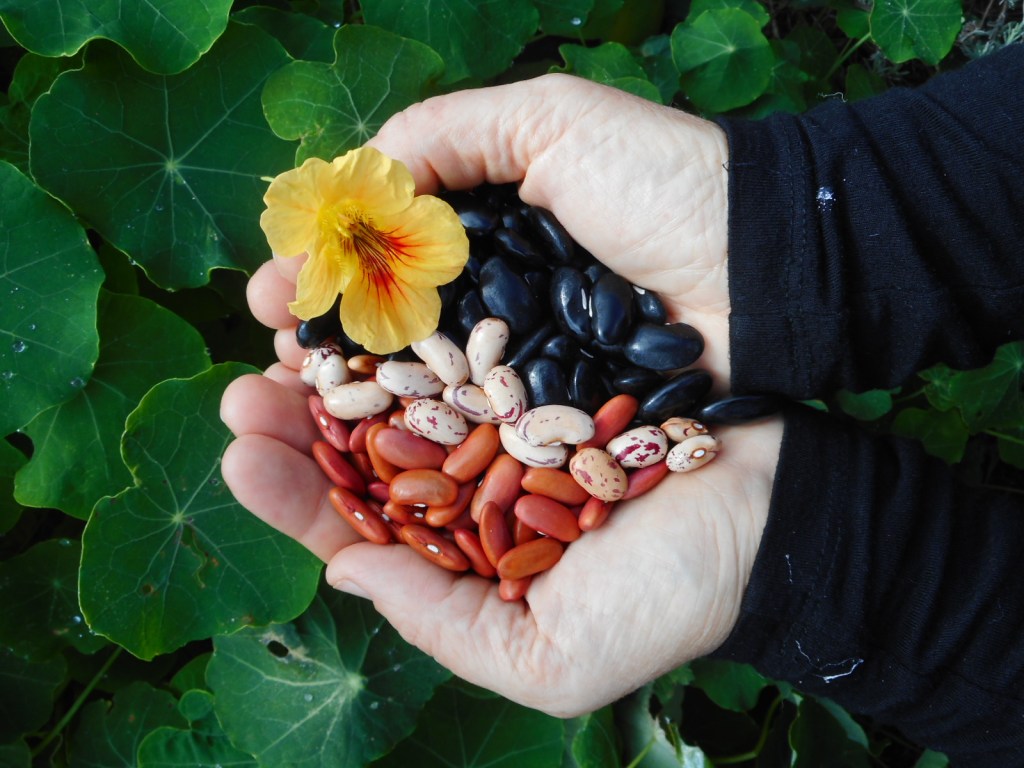
One key element to successful vegetables is growing robust seedlings. Experiment with different seeds and know that even the most experienced grower has suffered seed varieties that don’t do so well in their garden. Weather, climate and soil temperatures all play a part. 

Broccoli, collards, cabbage and kale need extra care before they go into the garden bed. If you are raising from seeds yourself, plant them into trays first, then prick them out when they have their first true leaves – the second pair of leaves – and then repot them into larger, deeper trays or individual pots. The extra boost at each stage gives them a boost of extra fertility. This also helps the plants develop a good root system before they go into the ground. Wait until they are about 8-10cm before planting out. I have found this also helps reduce slug and snail pressure on the plants.

Rocket, mizuna and a few weeds!

We use a seaweed fertilizer for our seedlings when they are establishing to give them a boost. We grow most of our seedlings in our own sifted compost, and it is rich in microbiology and the seedlings just thrive. We’ve spent quite a while perfecting this so if you can, try to get a compost heap underway. 

Cover your crops and choose your timing

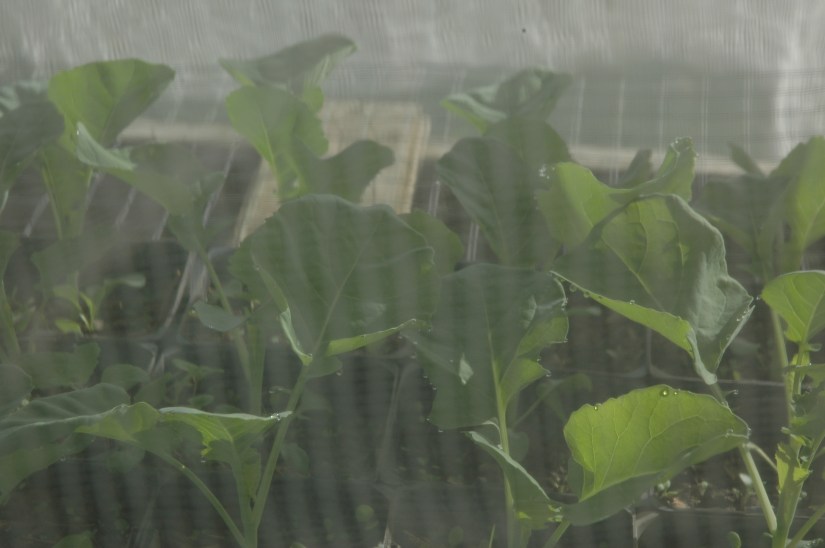
Netting is essential when growing broccoli, cabbages, collards and kale in our gardens. Where we live, we find we can plant seeds in early spring and again in late January through autumn to establish the plants before the cooler months. When the white butterflies are around we keep the plants covered with netting until we hit cooler temperatures and the white butterflies are gone.  

There are also plants which help repel white butterflies and diversity in the garden creates habitat for beneficial insects in even the smallest garden. But with many brassicas I find covers are still essential.                           

Happy growing and eating…

Growing food, Uncategorized

Growing strong seedlings

Growing plants from seeds can be a satisfying experience that allows you to explore a wide range of plant species and choose ones that are best suited to your local climate. It also means you can be in control of the medium your seeds are grown in.

The first decision you’ll need to make when buying seeds is what type to use. Here are some of the different terms you’ll encounter.

Hybrid seeds

Hybrid seeds are seeds from two genetically different plants which have been crossed to produce plants with specific benefits, for example, plants that are tolerant of drought. Seeds of hybrids are not good for seed saving because they contain a mixture of genetic material.

Most hybrid seed packets will have the label F1, which simply means the seeds are from the first generation of the breeding process.

Open-pollinated seeds

These are seeds which produce plants that are pollinated in the environment by birds, insects and other animals or are self-pollinating. Open-pollinated seeds will produce the same plant as the parent plant and be true-to-type unless they cross with another variety of the same species of plant.

Heirloom seeds

Heirloom seeds are those which have been selected, saved and grown over many generations. Heirlooms have a history and story behind them and are considered to be very precious to save for future generations. Heirlooms are open-pollinated and will grow true to type if saved and grown far enough away (this will vary depending on the plant), so as not to cross-pollinate with different varieties of the same species.

There are some amazing people saving heirloom varieties for future generations and many seed suppliers specialise in heirloom seeds. Heirloom seeds are often called heritage seeds.

Seed-raising mix

You may wish to do a little research before you purchase a seed-raising mix. Many seed-raising mixes contain animal products such as blood and bone or chicken manure from animals grown in factory farm conditions or breeds of chicken that endure short painful lives. You can read more about this issue here Key Issues in Chicken Farming. Peat in seed-raising mixes can also have an impact on our climate as we drain and dry peatland (Munro, 2021). You can read more here For Peat’s sake. Non-organic composts usually contain synthetic fertilisers and it can be difficult to know where and how these have been produced. This makes getting a medium to grow seeds tricky if you are trying to grow without animal industry by-products, peat or synthetic fertilisers.

Let’s look at a few different seed-raising medium options and don’t be afraid to experiment with what you have available.

Homemade compost

Well finished hot compost makes a very productive seed-raising mix. You can also add fully composted woodchip to this mix if you have some, but it needs to be composted to the point where there is no chip visible. We use about 3/4 compost, 1/4 woodchip. You can also add a bit of soil to this mix to increase microbiology.

Well finished compost

Once you have mixed the different materials you will need to sift out the larger particles, as seeds germinate better in fine soil. We use a homemade sieve, which is just wire netting on a frame. Once the larger pieces of compost are removed these can be used as a mulch or returned to a new compost heap to continue to break down.

Leafmould

Fallen leaves can also be turned into a seed-raising mix. It does require patience as the leafmould can take two or even up to three years to fully decompose.

Place the leaves in wire netting shaped around a frame, a wooden compost bin or a bag. If you place them in a bag you will need to make sure it has holes to allow the air to circulate. Cutting up the leaves with a lawnmower before you start will help speed up the composting process.

Keep the leaf pile moist and turn it every month or two to increase the process, but you can also just leave it in place. Once the leafmould has broken down you will need to sieve it and add sand, or vermiculite to the mix to increase drainage.

Commercial compost

Commercial green waste compost can be turned into a seed-raising mix with the addition of some drainage materials, for example, vermiculite, perlite, coconut coir or sand. This helps to keep the mix well drained and light enough that the plants don’t get waterlogged. Again adding in some weed-free soil to increase microbiology can be helpful. Some seaweed fertiliser is also useful to increase the fertility of the mix.

Check in with companies about what they use in their mix

I would also recommend getting on the phone and asking around to see what different companies put in their seed-raising mixes and composts. Some will list what is in their compost on the website.

Once you have your seed-raising mix, the next step is to get those seeds underway in the best conditions possible. Here are a few pointers for planting into trays or pots.

Keep the seeds moist

When sowing in trays, place moist newsprint paper over your trays and keep the paper damp. This means the soil will remain evenly moist and the small seeds won’t be battered by watering. Check regularly and as soon as the plants emerge, remove the paper.

Transplant into larger trays

Some plants such as broccoli, cabbage and cauliflower benefit when transplanted into a second tray (pricking out) before planting in the ground. This gives them a second ‘meal’ to ensure they grow strong. I have found this particularly useful to help prevent damage from slugs and snails as the bigger, healthier plants appear to be less tempting and can withstand a bit of damage if it occurs.

You can use a special pricking out tool to transplant the seedlings into bigger pots, but I just use a kitchen knife. Once the seedlings emerge and have their first true set of leaves (leaves that resemble the parent plant) you can prick them out.

First, make a small hole in the soil of the pot you wish to transfer the seedling to. Next, place the knife down beside the seedling and while gently holding their leaves, lift them out of the tray. Then place them into the new hole and firm the soil. At this stage, you may also wish to give them a seaweed fertiliser boost.

Planting out

When it is time to plant out, give the seedlings a good soak and then make sure they don’t dry out as they establish in the ground. If you move seedlings from a warm spot in a greenhouse or inside the house put them outside for a few days to a week, before transplanting. This will allow a ‘hardening off’ period and reduce transplant shock.

Some seeds are best directly sown onto the garden, such as carrots and radishes. Most bean and pea varieties can also be directly sown, although sometimes it is better to raise as seedlings to be sure they are strong once in the ground and able to resist rotting or slug damage.

Some seeds, for example carrots, can be tricky to grow because don’t cope with drying out. You can give them a helping hand by placing something like a shade cloth over the ground and removing it as soon as the seeds emerge.

Below are some examples of what we plant directdirectly, what we grow in trays and what we prick out into a second pot before planting out:

Carrots, radish, mizuna, rocket, beans, peas, chickpeas

Lettuce and other salad greens, beetroot, chard, silverbeet, spinach, peas, basil

Cabbage, broccoli, kale, cabbage, cucumbers, collard greens, eggplants, tomatoes