Building fertility in the garden, Garden design, Growing food, Uncategorized

Benefits of Crop Rotation: A Sustainable Gardening Practice

Crop rotation is simply organising plants into different plant families and rotating the plantings over time, or basically not planting the same annual crops in the same place each year.

Crop rotation does require some planning. If detailed planning is your thing, you can create a long-term rotation design with a detailed plan (probably more for a market gardener), or you can also keep it simple and incorporate at least some rotation around the garden.  

Sprouting purple broccoli flourishing after a crop of potatoes

Different plants require different nutrient levels, so rotating your crops can help reduce the number of inputs you may need to use. A crop that is a heavy feeder can be followed by something that requires less nutrients, and a crop with deep roots followed by a shallow rooted crop.

Another advantage of crop rotation is reducing the potential for soil-borne disease. This is because plants in the same family are more likely to suffer from the same issues. For example, planting brassicas (e.g., kale, broccoli, cabbage, and cauliflower) in the same plot every year increases the risk of club-root, because the fungal disease’s spores can persist in the soil. It’s a good idea to leave a gap of at least three or four years between plantings.

Rotating crops can help reduce insect damage by preventing a build-up of damaging insects in a crop year after year. 

Another advantage is different crops work on the soil in unique way, for example, deep rooting crops can improve the soil structure.

It is useful to have some understanding of the different families of plants if you want to use crop rotation. I also find it useful to keep seeds stored by the different groups in containers. 

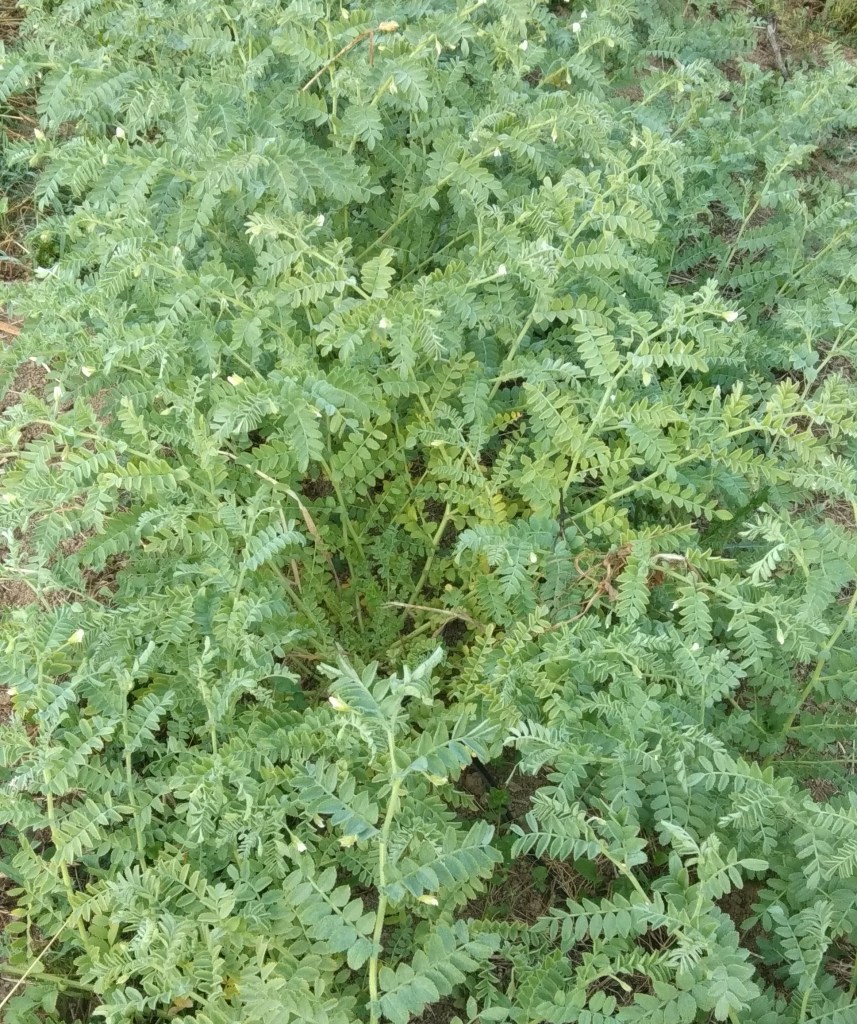
  • Peas and beans (Fabaceae or legume)
  • Broccoli, kales, cabbages, cauliflower, radish (Brassicaceae, or brassica – cabbage family)
  • Beetroot, chards and silverbeet (Amaranthaceae)
  • Leeks, onions, spring onions, garlic (Allium family)
  • Courgette, melons (Cucurbitaceae)
  • Carrots, celeriac, celery (Umbellifeae)
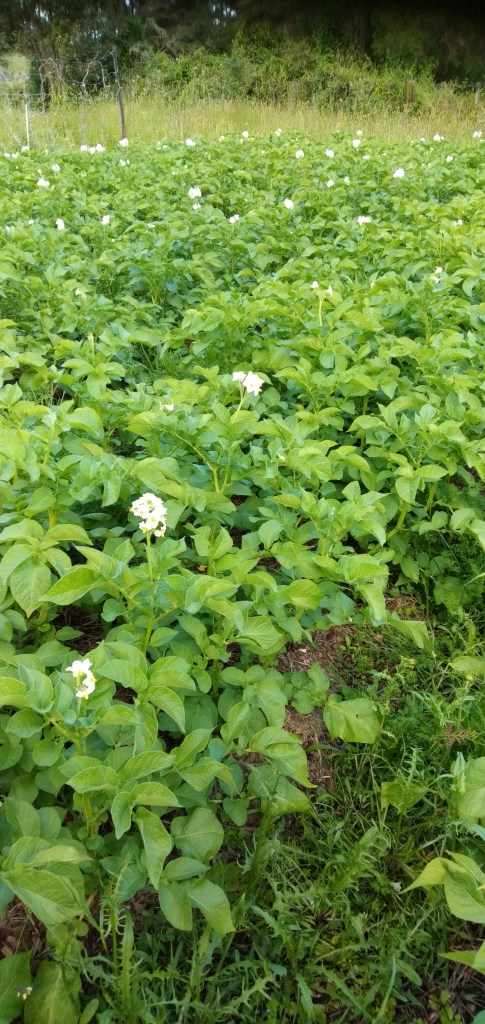
  • Tomatoes, capsicums, potatoes, and eggplants (Solanaceae – nightshade family)
  • Corn and grains (Poaceae – grass family)
  • Kumara (Conolvulaceae – bindweeds or morning glories)

There are many different examples of rotation plans
available so I am not putting one specific one here and
it really depends on your own set up. You might choose a more complex rotation that runs over a seven-year cycle and incorporates a couple of years of fertility building with cover crops (more for a market gardener). Another alternative for a smaller plot could be based on grouping your rotations by root crops, brassica, greens and legumes, and alliums. You would then try to have a long gap between replanting in the same bed those that are more susceptible to disease like alliums, tomatoes,
brassicas and potatoes.

I find it particularly successful if I have an area that has been in a cover crop or a new bed that has been in grass, to start with potatoes to break up the soil, then I will then grow a range of brassica depending on timing as they require more fertility; if it is later in autumn and too late to get the brassica in I may just pop in a legume after potatoes such as broad beans over winter. Lettuce I pop in wherever I have a gap. Another successful rotation I have had is planting broccoli after kumara.

There are loads of great resources on rotation planting, so again how you plant depends on what you are doing in the garden and how detailed you want to be. And keep a record of what you plant where, you’ll think you’ll remember, but two years later it can be different story – jot it down or take a photo.

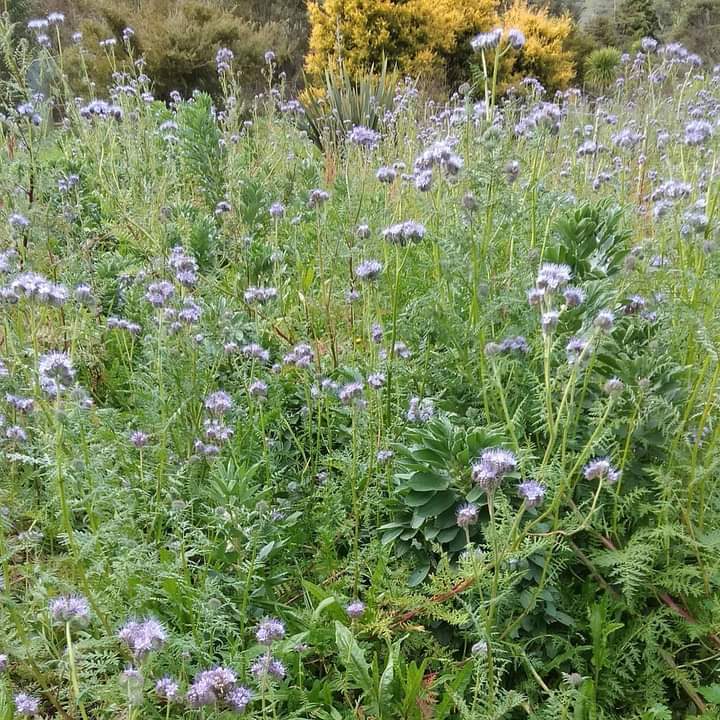
Whatever you decide to do in your garden, don’t forget the other principles to incorporate, mulching well, well matured compost and adding in lots of plant diversity. Add in flowers and natives wherever you can to attract all those beneficial insects and increase soil life – remember nature loves diversity and flowers can lift the spirit on a gloomy day. 

Happy growing. 

Building fertility in the garden

Cover crops to build fertility

Cover crops are plants that are grown specifically to cover the soil, rather than to provide food for humans. However, they do provide food for all the organisms that live below the soil surface.

Cover crops are usually grown when the soil needs a break, to build fertility or to address specific issues in the soil. Cover crops can help reduce weeds, slow runoff and support the water-holding capacity of the soil. They can also accumulate and recycle nutrients and add in organic matter for those plants that will, in turn, feed you.

Getting the best out of cover crops is a lifelong learning, but the good news is that they can reduce a gardener’s reliance on synthetic fertilisers or animal manures.

Phacelia and broad beans

What is a green manure? While exploring the world of cover crops, you’ll come across the term ‘green manure’. A green manure is simply a cover crop that has been turned in while still green. 

Cover crops can be grouped as legumes, non-legume broadleaf crops, and cereals and grasses.

Legumes

Legumes are plants from the Leguminosae (Fabaceae) family, examples include clover, lupins, beans and peas.

Chickpeas are legumes

Legumes are known for their nitrogen-fixing properties because of their relationship with nitrogen-fixing soil bacteria called rhizobia. As a legume seedling grows, these bacteria move into the roots of the plant and reside in the root nodules and here they exchange the nitrogen for organic compounds produced by the legumes. Nitrogen fixation varies between plant species, the timing of harvest, and whether the right nitrogen-fixing bacteria are actually present in the soil.

To make the most of using nitrogen-fixing plants as green manures, we need to look for legume varieties that we will also be happy to cut down when they are just starting to flower. As the plants break down in the soil some nitrogen will then be available future crops.

Red clover

Legumes are not the only nitrogen-fixing plants and there are species of perennials, trees and shrubs which fix nitrogen. Many of these make a useful addition to the garden as they can support fruit trees and other plants. Some have the added benefit of adding beauty to our garden, for example, the kōwhai and california lilac.

California Lilac (Ceanothus)

Non-legume broadleaf plants

Broadleaf plants that do not fix nitrogen are also beneficial in a growing system. Phacelia is one of my favourites, and if I leave some of the crop to flower it looks beautiful and provides lots of bee food. Buckwheat is another quick-growing crop and will also grow in less fertile spots, adding a bit more life to your soil. Chicory is a very deep-rooted perennial broadleaf, planted to tap nutrients deep in the ground with long roots.

Cereal and grasses

There are various types of cereal crops, such as oats and wheat, that can be used to cover the soil. In autumn, a pre-mixed cereal crop can go in to cover the soil during autumn and winter to prevent nutrients from leaching out. This can then be turned in or cut and dropped in spring while it is green before planting vegetables. You may also wish to let some go to seed and dry out before harvest to use as a carbon source for a compost heap.

What are cover crop mixes?

Many garden stores now have specific cover crop/green manure mixes which contain a mix of seeds for planting at different times of the year and for different situations.

What is the best cover crop mix?

The best green manure will depend on the time of year, your climate and what your goals are for your garden. In our garden, I use lupin, phacelia and buckwheat because they are generally easy to grow and a fast cover for a garden bed. I also make use of red clover which I grow over two years along with other broadleaf cover crops such as chicory, as part of a long-term strategy to raise fertility when a bed is resting and before I plant potatoes.

Some cover crops are reputed to have additional functions in your garden. Mustard is said to reduce wireworm or marigolds to reduce nematodes.

A couple of other things

  • When planting a cover crop, it may be necessary to initially cover the ground with netting to prevent birds or mice from eating the seed.
  • If you decide to chop and drop plants rather than turning in, it’s important to keep in mind that the organic matter will take longer to break down. However, some root matter will still break down beneath the surface.
  • If you are turning your cover crop in, you’ll need to wait for two to four weeks for it to break down before planting.

Building fertility in the garden, Growing food, Uncategorized

Tips for growing chickpeas

Chickpeas are still a novelty plant in gardens in Aotearoa, but one I think should become a staple. While the space required for a large harvest is not feasible for a small garden, I would still recommend them. They are beautiful, graceful plants and extremely easy to grow in the right conditions. I have also used chickpeas as a cover crop and experimented interplanting them with other crops.

Sowing chickpeas

Sow chickpea seeds directly in an area that gets at least 6 hours of sun. You will also need to be sure the area has good drainage.

Chickpeas can be planted in succession from spring through to early summer and after the danger of frosts have passed, although they can survive a light frost after planting. I have also sowed chickpeas in early autumn as a cover crop rather than for harvest.

Sow seeds about 30cm apart in rows spaced 50 cm apart. They can also be planted in a grid pattern with about 50cm between each plant. This spacing allows the plants to grow and shade the soil, which helps retain moisture during the summer. However, if you live in an area with high humidity, wider spacing will allow more airflow between the plants.

Chickpeas can grow in quite dry conditions, but keep an eye on the soil and if it is dry, they benefit from a good water. Where we live, water can be a precious commodity in summer (although not always!) so our chickpeas don’t usually get any extra water throughout the summer. During a particularly harsh summer, I noticed the plants suffered, but still outperformed many of the other plants. 

If you grow chickpeas in pots, they will need regular watering. It is a good idea to water them directly into the pot rather than above to reduce the potential for disease.

Mulch also provides a protective layer and helps prevent soil from drying out, regulates the soil temperature and suppresses weeds. There are a few options for mulching chickpeas, which are usually planted directly:

  • Place the mulch around the plants once they are about 5 cm tall.
  • Plant seeds into an area that is already mulched by pulling some mulch aside when planting.
  • Grow chickpeas in trays first and then plant them out once established in a mulched area.

Growing chickpeas through to the dry stage does take a while, with harvest after about 100 days in late summer. Before harvest, it is best to let them completely dry on the plant and then chop the plant from the base. If wet weather threatens, you can finish under cover if they are very close to being dry.

After harvesting, hang in bunches to finish drying in an area with good air circulation (we have also found spreading them over our clothes horse worked well). Once the pods start splitting and the peas are hard (you cannot make a dent with a fingernail) remove peas from the pods and store. Harvesting is a little time-consuming as they grow in small pods, with only one or two peas per pod. They also don’t pop out of a dry pod as easily as other dry beans. The dry plant then makes a great brown carbon addition to the compost.

Probably one of the hardest issues you will face growing chickpeas in New Zealand is getting the seed. I have also seen them for sale as seedlings, so they are starting to appear in Aotearoa. Perhaps we’ll even see some different varieties of chickpeas become available in the future.