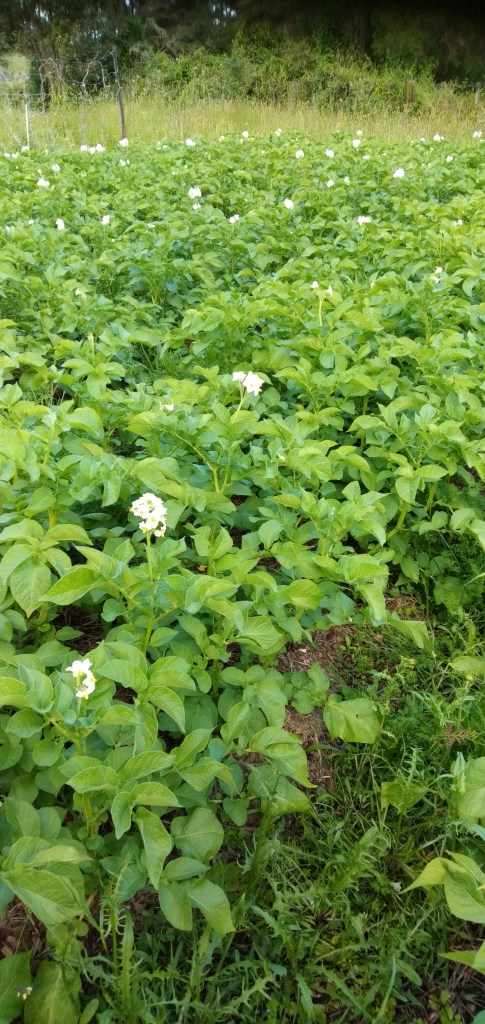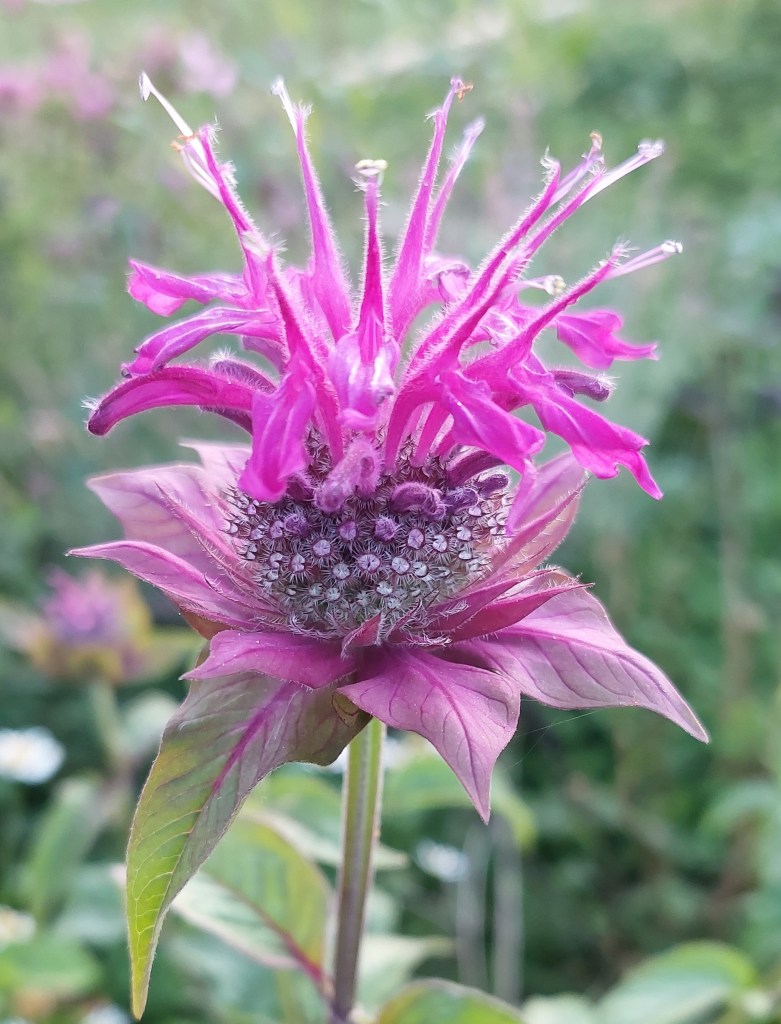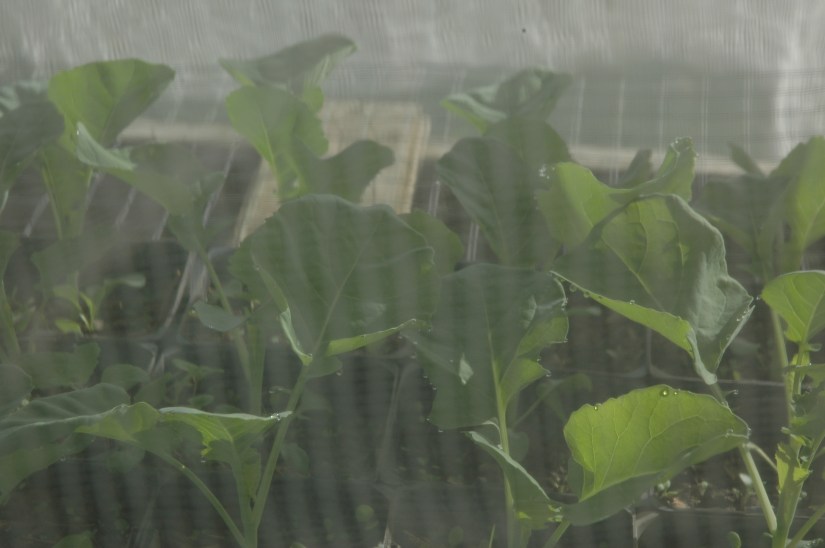

Our gardens take on even more meaning when we consider that they can be humming with diversity. Even the small potted plant on a deck can be home to someone else, busy trying to stay alive in this human-altered world. So who else might be there, and can their survival also help us grow food and beauty in our environment?
Pūngāwerewere (spiders) have not received so much attention in Aotearoa New Zealand. So, in this post, I dive just a little deeper into their world and how we can support their ongoing survival with Dr Phil Sirvid, curator of invertebrates at Museum of New Zealand Te Papa Tongarewa.
What exactly are spiders?
Spiders are in a class of animals called arachnids. They have two body segments called the cephalothorax and abdomen. Adult arachnids have four pairs of legs but lack both wings and antennae. Other examples of arachnids include scorpions, mites and ticks.
There is much to know about spiders; some dance, some have better eyesight than us, a few are vegetarian, most are solitary, but some do work together to create huge webs, and some even disguise themselves as ants.1
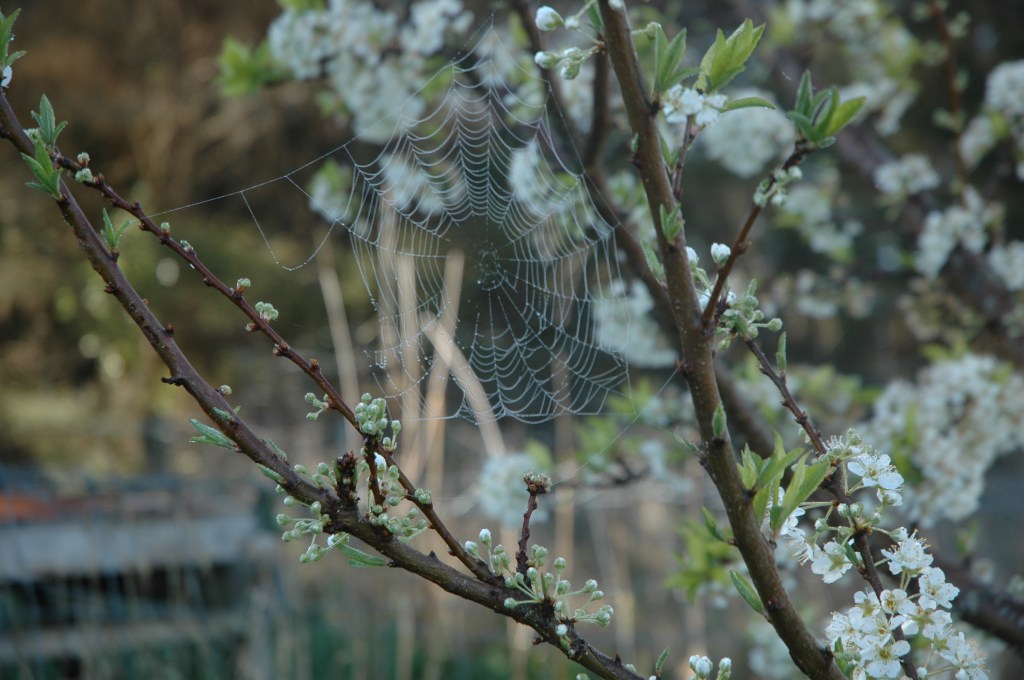
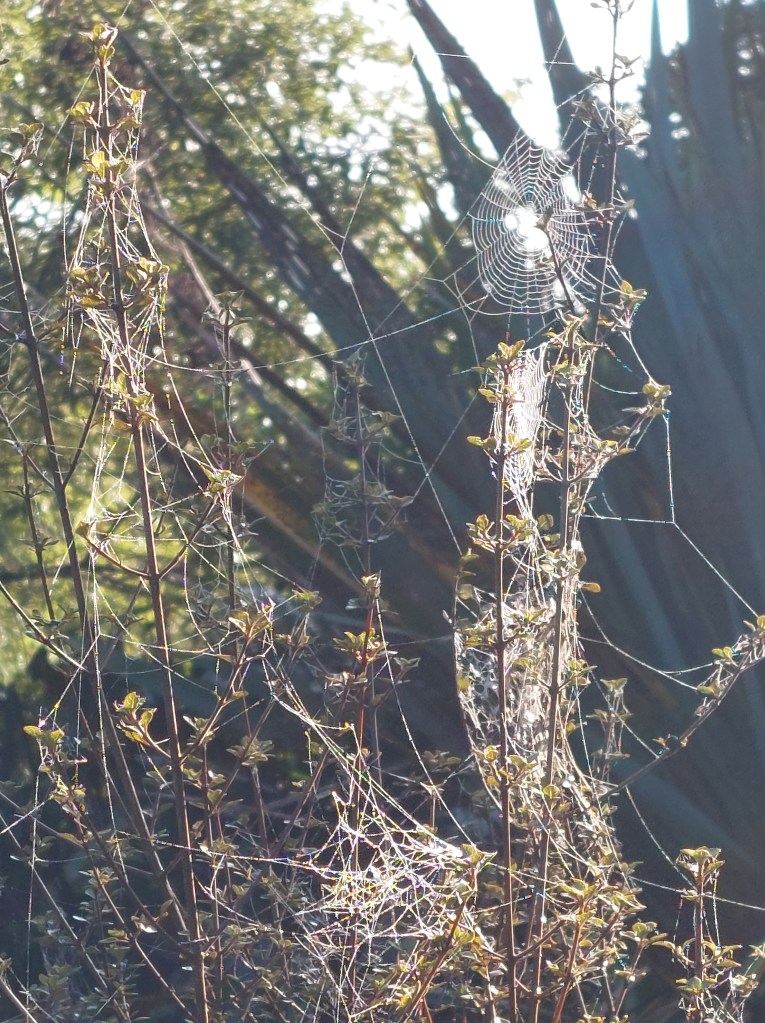
While not all spiders create webs, they all use silk in some way and will leave a drag line of silk behind them as they move around. Egg sacs can also be made of silk and used in reproduction.
Some spiders use electric fields to get around!
One incredible thing I learnt from Phil was that some species use silk strands to disperse in a process called ballooning. Phil says, they will climb clear of the ground and use either the breeze or the Earth’s atmospheric electrical fields to lift and move. One theory is that spiders use little hairs on their body to detect this electric field, a bit like how human hair lifts through static electricity on clothing.2
Spiders unique to Aotearoa
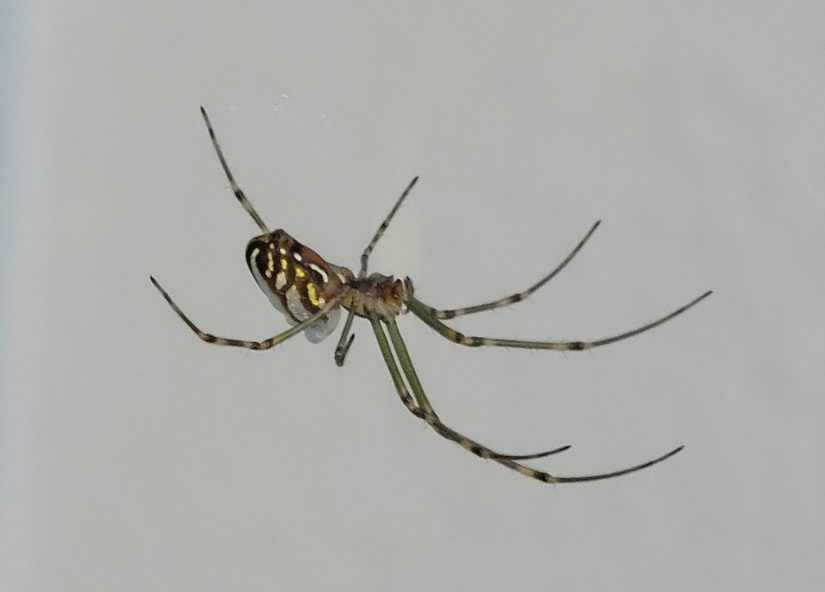
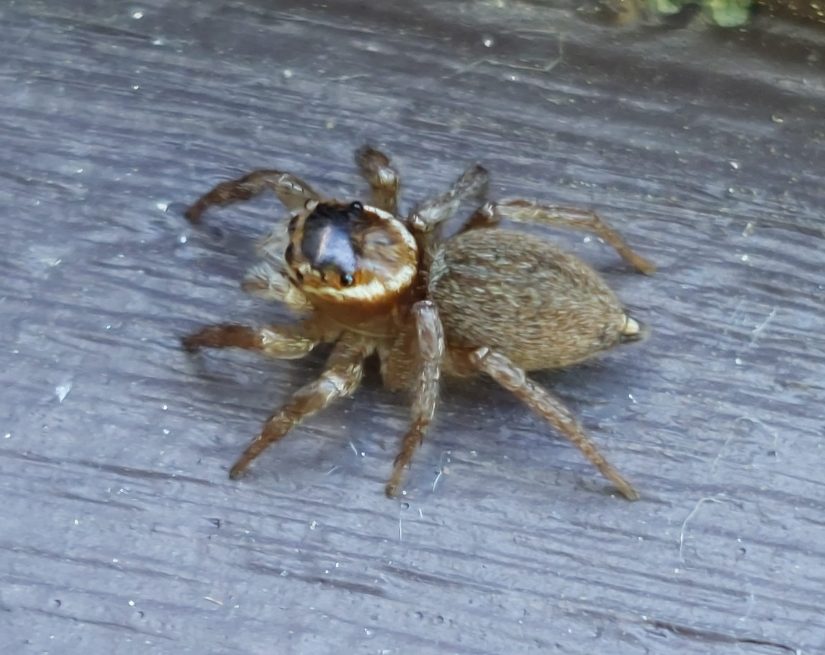
Across the world, over 53,000 species of spiders have been identified so far. These are broken down into 138 families, including jumping spiders (Salticidae), orb weavers (Araneidae) and tunnelwebs (Porrhothelidae). Of those, more than 1,100 named species have been discovered in Aotearoa. Phil expects this number will continue to grow.
Phil explains that around 95% of our spider species are endemic – only found in Aotearoa – and the other 5% includes those that have arrived from elsewhere in the world, e.g. Daddy Long Legs. This 5% also includes species that are native to both New Zealand and Australia. Phil says this makes our endemic species pretty special and we still have so much to learn about these spiders.
Gardening with spiders in mind
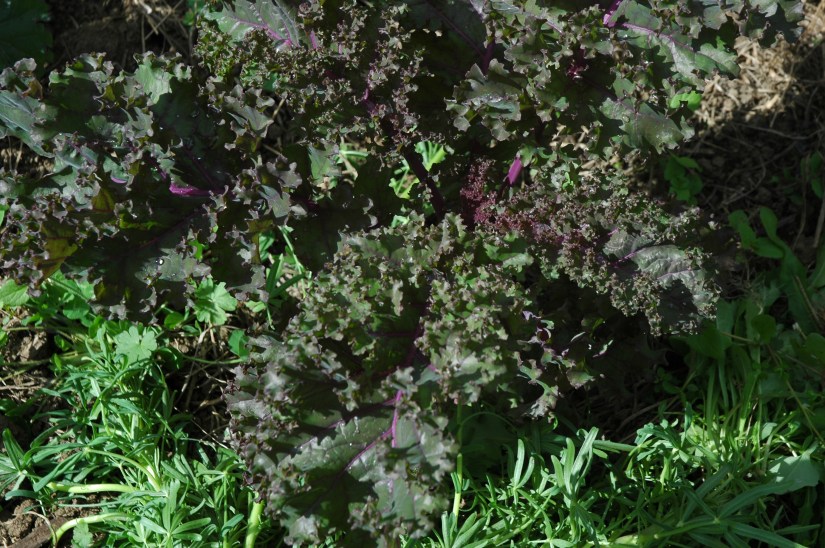
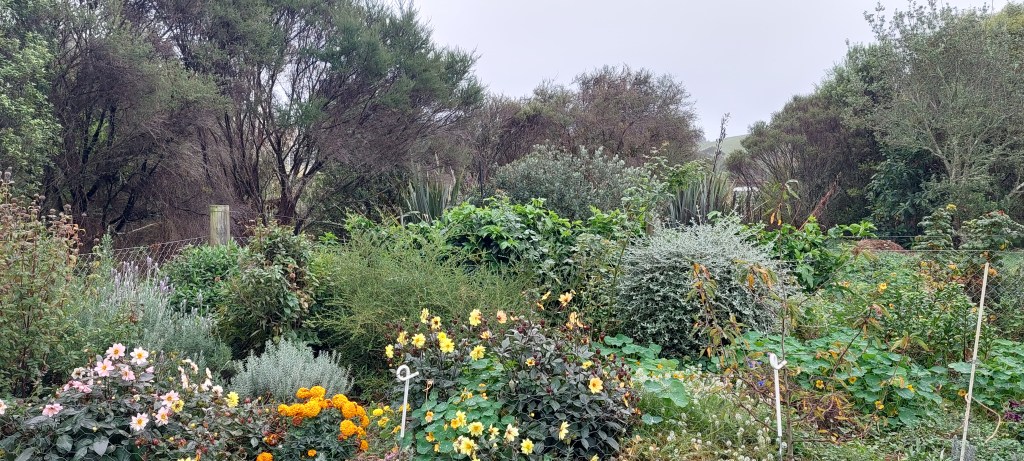
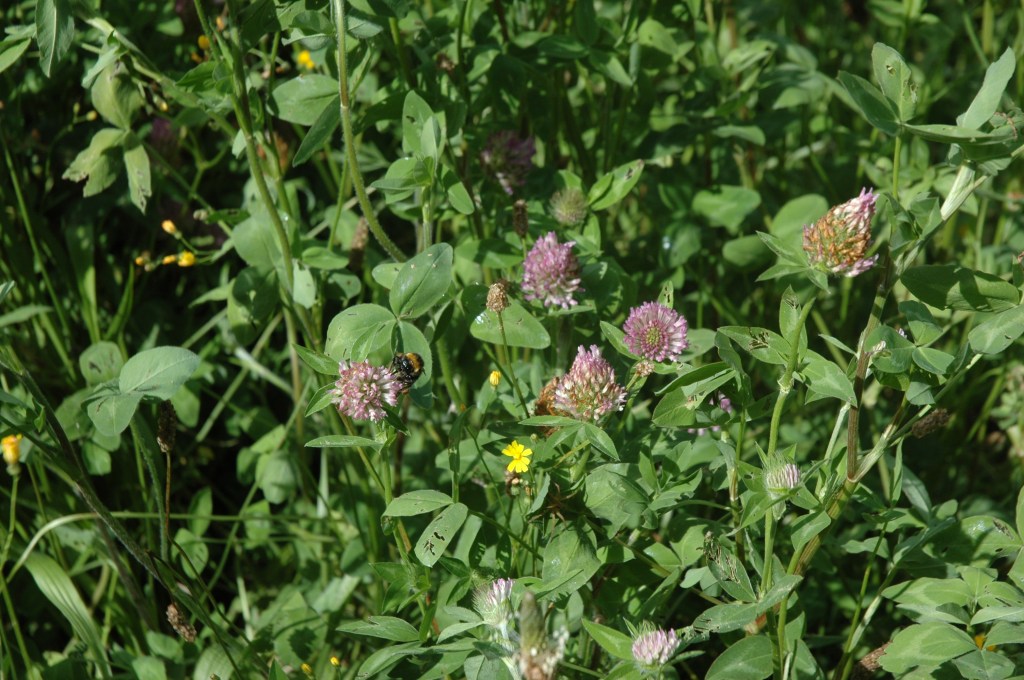
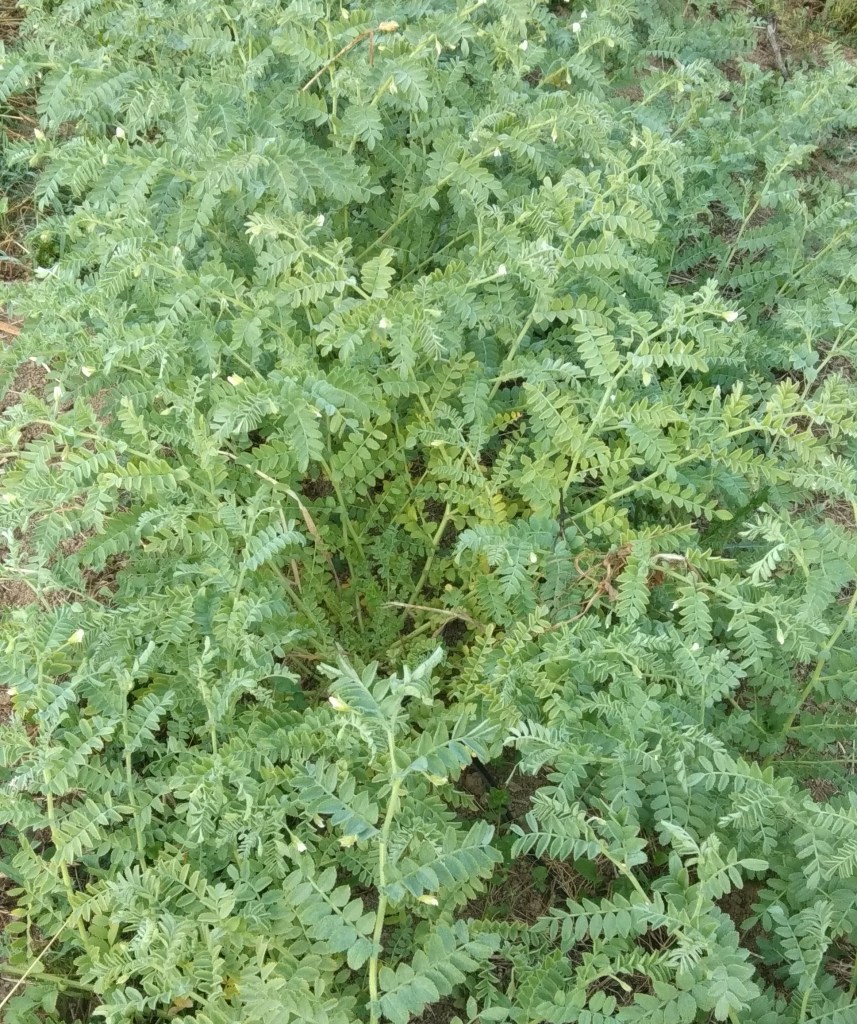
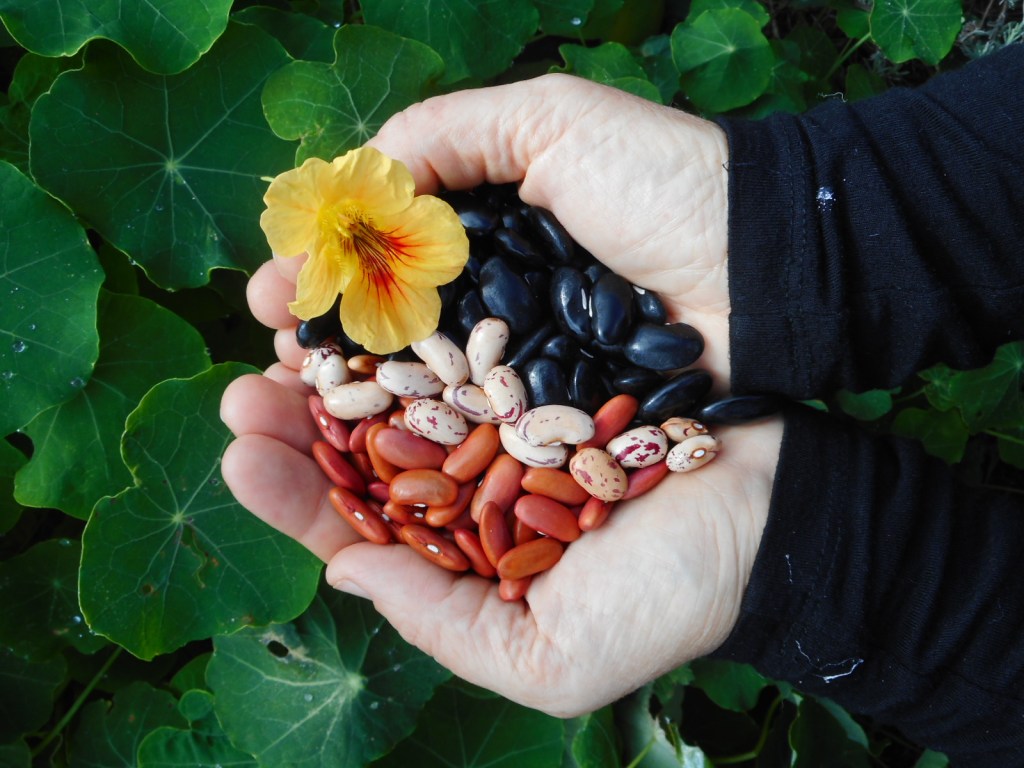
Phil suggests that in our gardens, the more diverse the habitat the more spiders you will have. A range of plants will encourage a range of insects and in turn a range of spiders.
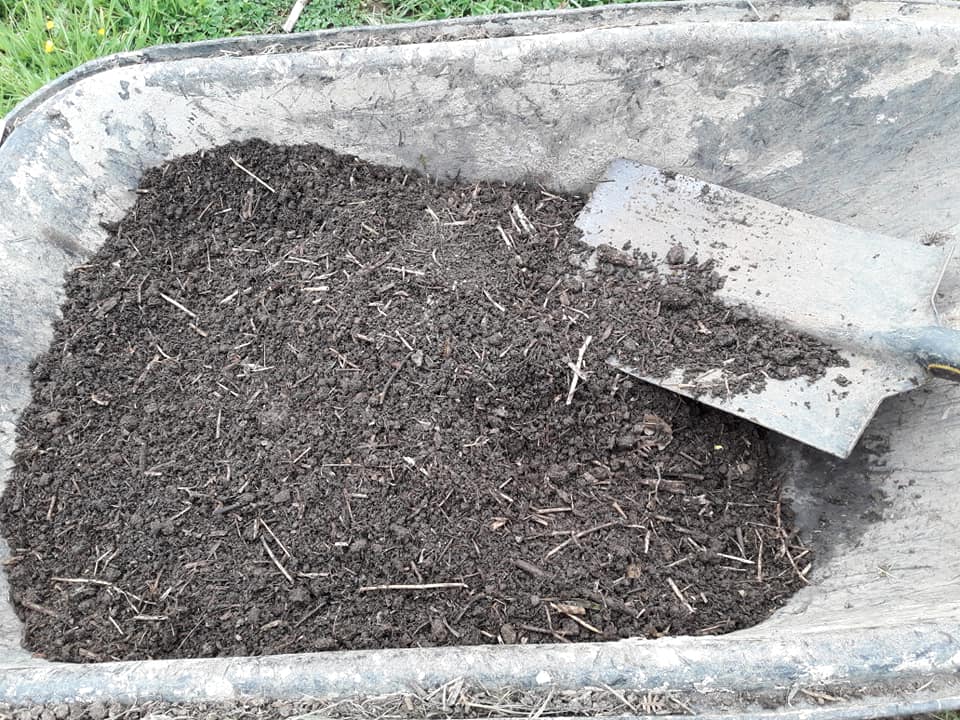
When designing a garden, consider leaving some areas wild so spiders can live undisturbed. In a small urban space, this can be a pot with some weedy bits or around the back of a garage.
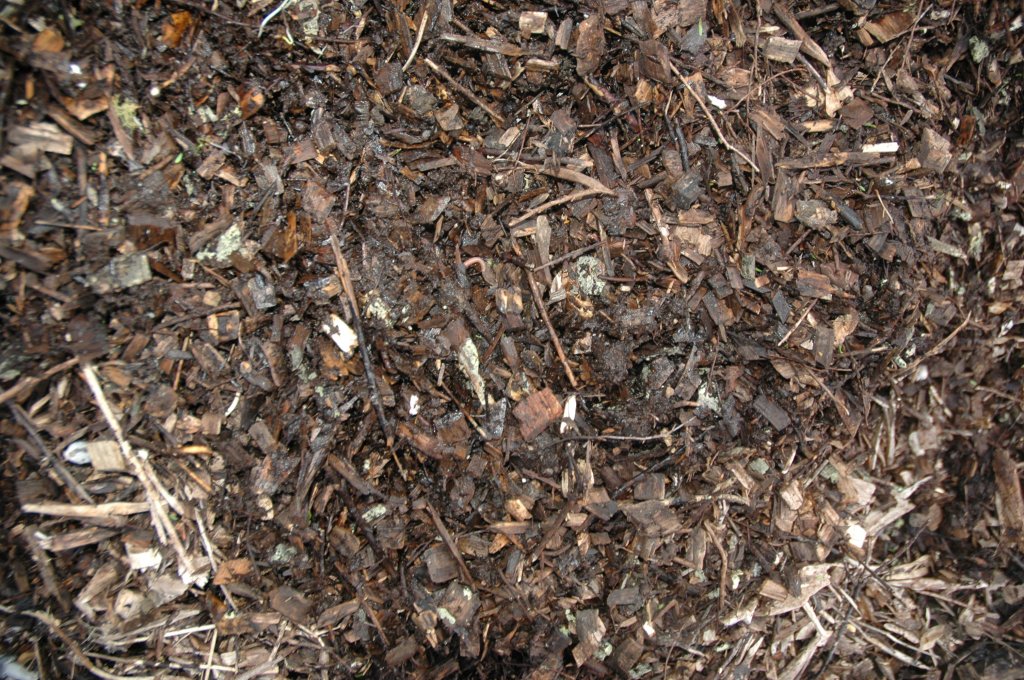
There are spiders who will live happily in human-built structures, such as sheet web spiders who will look for a place to hang and build their web. A wood pile might become a home for tunnel web spiders, and flowering trees might be home to flower spiders.
Pesticides will, of course, affect spider populations. Even if they don’t directly kill a spider, you will likely be killing their prey and making things more difficult for their survival. Sullivan et al, point out that in international research, “many studies have shown the positive effects that spider abundance and diversity have on economically important food protection systems, and many studies have demonstrated that enhancing adjacent habitat can conserve the biological control provided by spiders in these productive ecosystems”. 3 So rather than spray, enhancing habitat is the way to go.
I was saddened recently to see the range of specific spider control products after a recent visit to a large department store, so I suggest we need to start to talk about how incredible they are.
But spiders are scary!
Phil reminds me that spiders are actually shy, and to them we are scary! There are some venomous spiders in New Zealand. However, we are unlikely to encounter them but if bitten, always seek advice. If you come across a spider insider, consider that spider might well be a visiting native spider who has lost their way, perhaps while looking for a mate and maybe we can just leave them be. And Phil’s advice in New Zealand if we need to relocate the spider safely to a more appropriate location? He suggests we pop a jar over it, slide a piece of cardboard underneath and move it gently, and remember, “even if you are not enjoying being close to a spider, you are the one with all the power”.
There is so much to know about spiders and I have only just touched the surface of the topic. I am now totally hooked on these precious animals. I intend to show them a lot of respect when I find them.
- M. Miller and M. Jemison (2014). Eight strange but true spider facts. https://www.si.edu/stories/eight-strange-true-spider-facts ↩︎
- Wishart. S. (2018). How spiders use electricity to fly. https://www.nzgeo.com/stories/electric-flight/ ↩︎
- Sullivan, N.J. Stringer, L.D., Black. A. & Vink, C. (2025). Harnessing spider biodiversity for sustainable horticulture: A call for research and conservation in Aotearoa New Zealand. https://newzealandecology.org/nzje/3600 ↩︎