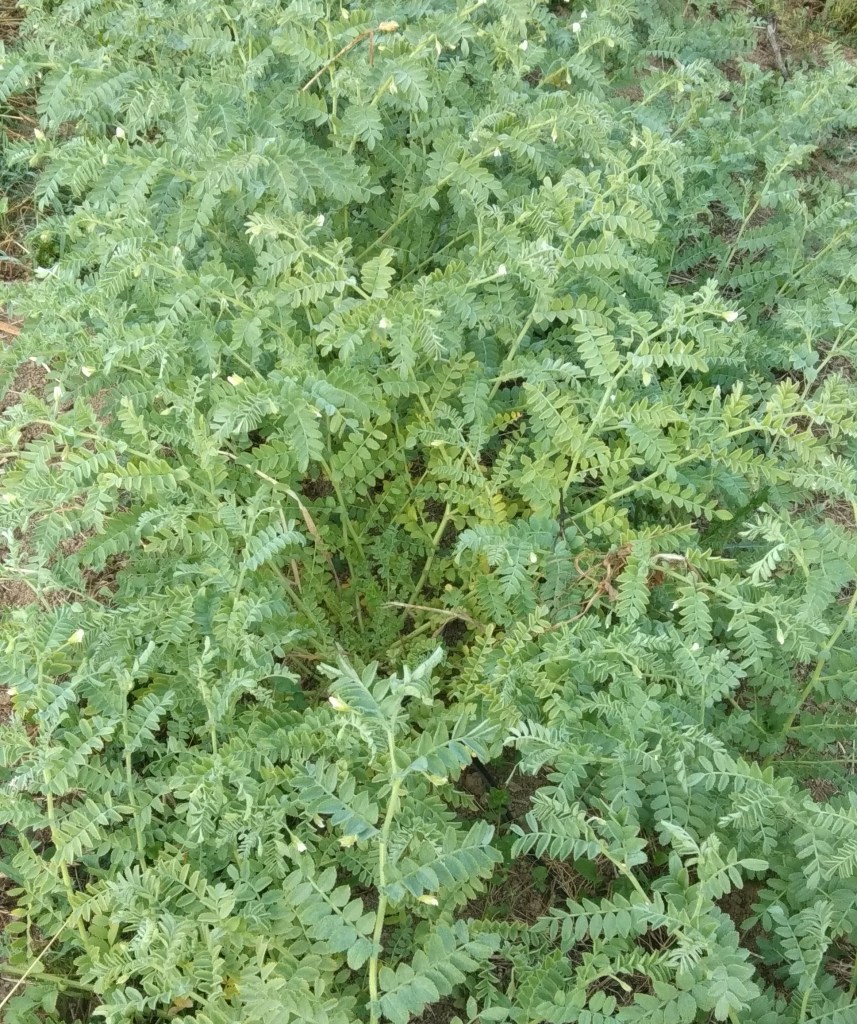
Chickpeas are still a novelty plant in gardens in Aotearoa, but one I think should become a staple. While the space required for a large harvest is not feasible for a small garden, I would still recommend them. They are beautiful, graceful plants and extremely easy to grow in the right conditions. I have also used chickpeas as a cover crop and experimented interplanting them with other crops.
Sowing chickpeas
Sow chickpea seeds directly in an area that gets at least 6 hours of sun. You will also need to be sure the area has good drainage.
Chickpeas can be planted in succession from spring through to early summer and after the danger of frosts have passed, although they can survive a light frost after planting. I have also sowed chickpeas in early autumn as a cover crop rather than for harvest.
Sow seeds about 30cm apart in rows spaced 50 cm apart. They can also be planted in a grid pattern with about 50cm between each plant. This spacing allows the plants to grow and shade the soil, which helps retain moisture during the summer. However, if you live in an area with high humidity, wider spacing will allow more airflow between the plants.
Waterand mulch
Chickpeas can grow in quite dry conditions, but keep an eye on the soil and if it is dry, they benefit from a good water. Where we live, water can be a precious commodity in summer (although not always!) so our chickpeas don’t usually get any extra water throughout the summer. During a particularly harsh summer, I noticed the plants suffered, but still outperformed many of the other plants.
If you grow chickpeas in pots, they will need regular watering. It is a good idea to water them directly into the pot rather than above to reduce the potential for disease.
Mulch also provides a protective layer and helps prevent soil from drying out, regulates the soil temperature and suppresses weeds. There are a few options for mulching chickpeas, which are usually planted directly:
Place the mulch around the plants once they are about 5 cm tall.
Plant seeds into an area that is already mulched by pulling some mulch aside when planting.
Grow chickpeas in trays first and then plant them out once established in a mulched area.
Harvesting chickpeas
Growing chickpeas through to the dry stage does take a while, with harvest after about 100 days in late summer. Before harvest, it is best to let them completely dry on the plant and then chop the plant from the base. If wet weather threatens, you can finish under cover if they are very close to being dry.
After harvesting, hang in bunches to finish drying in an area with good air circulation (we have also found spreading them over our clothes horse worked well). Once the pods start splitting and the peas are hard (you cannot make a dent with a fingernail) remove peas from the pods and store. Harvesting is a little time-consuming as they grow in small pods, with only one or two peas per pod. They also don’t pop out of a dry pod as easily as other dry beans. The dry plant then makes a great brown carbon addition to the compost.
Probably one of the hardest issues you will face growing chickpeas in New Zealand is getting the seed. I have also seen them for sale as seedlings, so they are starting to appear in Aotearoa. Perhaps we’ll even see some different varieties of chickpeas become available in the future.
The soil beneath our feet has more life than we humans can possibly imagine. It was something which l, like many gardeners, had never given much thought to except when I saw visible animals such as earthworms. However, as we’ve started to understand some of the science of the soil, many growers and gardeners have changed their focus to nurturing the diversity of life below the soil surface.
My interest began when I stopped relying on most types of commercial composts and I had to learn the longer game of building fertility. Mulching was suddenly much more important as I learnt it was central to keeping the soil, the micro-organisms, and in turn the plants, in good health – building and retaining fertility in the garden.
The many benefits of mulch
Mulch keeps moisture in the soil in dry periods, helps retain warmth in winter and reduces weed pressure. Organic mulches add nutrients to the soil as they break down and are moved into the soil by earthworms and microorganisms. Mulches are important as they reduce the run-off of precious minerals from our soil by adding a protective barrier. This reduces the amount of runoff into our waterways, something we need to consider in cities as well as on farmland. So many benefits to a layer of mulch!!
Types of mulch
When using mulch, like all gardeners, you will have your preference on the look of your garden. Many people love a pristine garden, so the choice of mulch is important, others are happier with a messy look. It is individual preference. But I suggest, whatever the look, we should also be concerned with is what is going on under the mulch, rather than just what it looks like on top of the soil.
Mulching materials vary and what you use depends on what is available. We use a mix of mulch materials including long grass – cut with a scythe or weed eater before it goes to seed. When we apply it to the surface of our gardens we spread it in layers, gradually building it up over time to prevent it from heating up as it decomposes. We compliment this with compost when required.
There are lots of different materials you can use as a mulch including:
clippings from your perennials
weeds – but make sure you get them before they have gone to seed and don’t use those more determined weeds, such as creeping buttercup, as they may still continue to grow
cover crops – cut and dropped
compost
living mulches – you can use plants such as clover for underplanting. We’ve had success underplanting courgettes with red clover and have used it in the tunnel house pathway cut and placed around the plants.
A few other pointers
Woodchip as mulch is a big topic on its own and one I will devote an entire blog to at a future point. There is much debate about when and where to use woodchip, but one great place to start is to use it on pathways. Here it keeps the weeds down and any fertility from the woodchip will move across into the beds as it breaks down.
Think about what you are trying to achieve with the mulch. If it is for heat loving plants, then mulch when the soil has warmed to keep in the heat and try to apply mulch before the winter cold and rain sets in.
Finally, don’t forget your container plants, mulching will help retain moisture and keep the soil life happy in your pots.
Along with green manures, crop rotation and mulching, making great compost is another useful skill to add to your garden toolkit. Unfortunately, it can be a challenge to buy in commercial compost that is free from factory farmed chicken manures and slaughterhouse by-products such as blood and bone. These ingredients do add nitrogen and nutrients to the compost, but can you do without these?
The first step is to recognise that we can use the fertility straight from plants and the wonderful interaction of all the animals and micro-organisms in the soil and we do not have to process this fertility through a select few species of animal. Composting is just a way of speeding up natural decomposition and activating all the microorganisms. Of course, you can also chop and drop your plants and let the microbes do the composting in situ, but excellent quality compost can really support your garden and you can also sift and use it for your seed raising mixes.
You don’t necessarily have to spend lots of money on compost bins, bays, activators or complicated systems. Nature already has a wonderful system and composting will just happen where you place the materials. I used to compost in divided bays, but I have found these just got in the way when turning the pile and now I just pile things up. Although for aesthetics and keeping a garden tidy these can be advantageous, especially in smaller gardens.
What is the difference between hot and cold compost?
The action of microorganisms produce heat in hot compost. As time progresses different organisms are at work on the compost and the temperature changes. Contrary to what I once thought, worms don’t really come along until near the end, along with lots of other insects and other invertebrates. If you are really dedicated you can use a compost thermometer and track the compost as you go and perfect the composition to get hot compost, just ensure the compost heap does not go above 65˚C and kill beneficial microorganisms in the pile.
Cold compost is a compost heap that slowly matures. It can take quite a long time but is useful if you don’t have a lot of material or time to compost. Just be aware that if you have seeds, invasive weeds or diseased material in a cold compost it will likely survive the process.
What is the nitrogen and carbon mix all about?
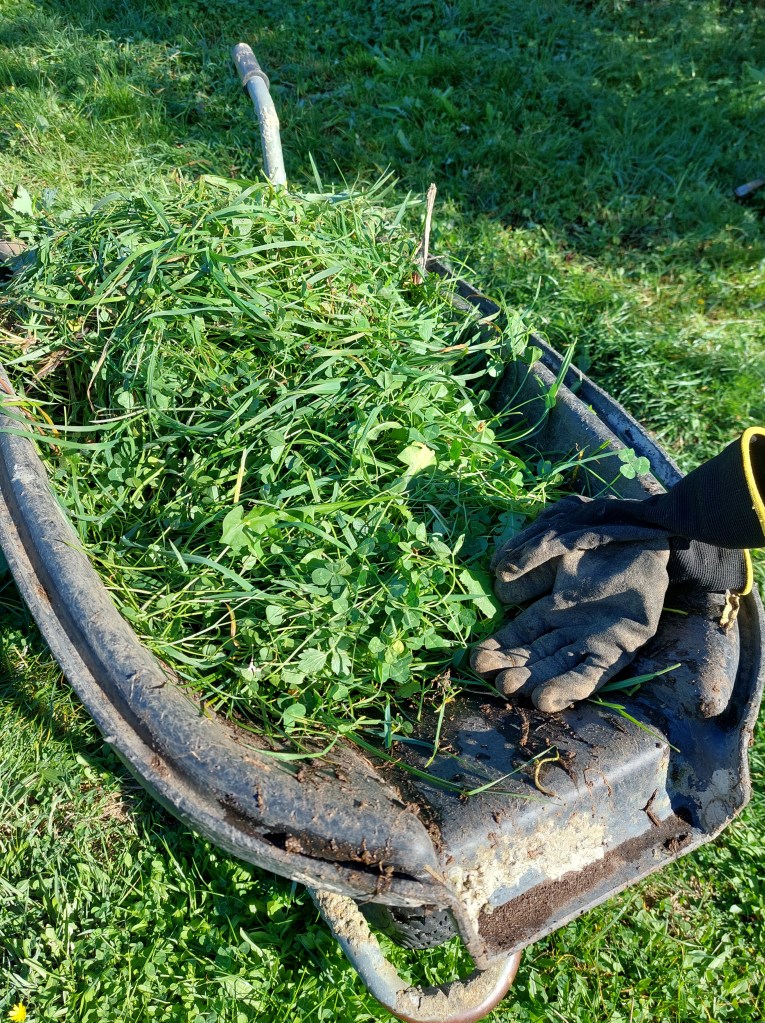
When making compost, the plants you add will be a combination of fresh greens and dried brown material, or somewhere in between. The browns are the carbon-rich ingredients – straw, hay, dried grass clippings, chipped branch wood, dried spent plants from the garden. The greens are the high nitrogen ingredients – freshly harvested green plants, green crop residues, vegetable peelings, green weeds (not in seed if you’re making cold compost), comfrey leaves and green grass. Note, that as greens dry and age, they drop in nitrogen levels.
Freshly scythed ‘greens’ for the compost.
You may have read about specific ratios of carbon to nitrogen in the compost materials such as 30:1, but it can be confusing and can make things more difficult to follow. This is great for the professional to master. But in the garden, I am all about keeping it simple.
The more carbon ‘brown’ materials in the compost the longer it will take, and some browns take a very long time, such as a pile of woodchips. If there are too many high nitrogen ‘green’ materials, such as too much fresh grass, you will get an anaerobic process and it will get smelly and compact. I try for a fairly standard mix of about one-third green and about two-thirds brown material. I keep a pile of brown materials and use them when I am ready to build a pile, but the greens don’t really keep, so I need to have these ready – generally after I have done a harvest. But remember you don’t have to do a layer method and can just add to the pile as you go, if the balance is not right turn and add more of another material.
Reducing the size of the material you add to the compost will also speed up the composition as it provides more surface area for the microbes and just chopping things up with a spade will help.
Making hot compost; layer, water, cover and turn
To make hot compost create layers with browns and greens, adding a spade of dirt in between each layer as this helps with microbiology – I can’t verify this, but it is simple to do and doesn’t hurt.
Start with a layer of sticks and twigs to allow air to circulate.
Build up with layers of greens and browns about a 10cm thick.
Water each layer – unless the material is already wet.
Top the last layer with another spade of dirt.
Once it is at least one metre square, cover it with a compost cover, to reduce all the nutrients washing away in heavy rain. I would recommend purchasing a compost over if you can, as a good compost cover will allow moisture in while also allowing the compost pile to breathe, but a shade cloth or sacks are also good.
Turn the compost piles several times in the first month or so, adding and checking moisture levels and aerating. Then I only turn occasionally as I want the compost to do its thing. However there is debate and there’s nothing wrong with not turning and experimenting.
One piece of advice? Don’t be afraid – it’s a bit like cooking- some like to research in depth and follow very specific recipes, others like to experiment. Many things will impact on the pile, the time of year, materials you have, size of the pile and your own your interest.
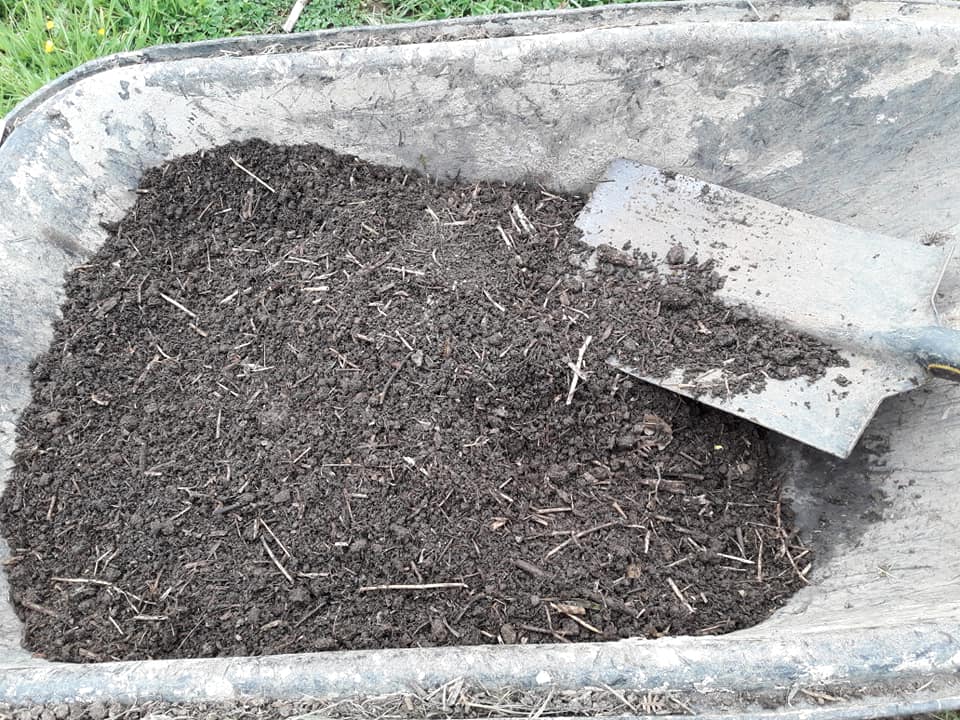
The compost is ready when there is no warmth left, it is a nice crumbly texture, and things have broken down in the pile. I have found a good hot pile can be ready within a few months, but I tend to leave it for about six months. A slow cooler pile can take 12 months or more. However, if the compost is not ready it will also stop things doing well in the garden. Sometimes even brought in compost is not quite ready and can benefit for some more time in a pile or mixed into your own compost and left to completely mature.
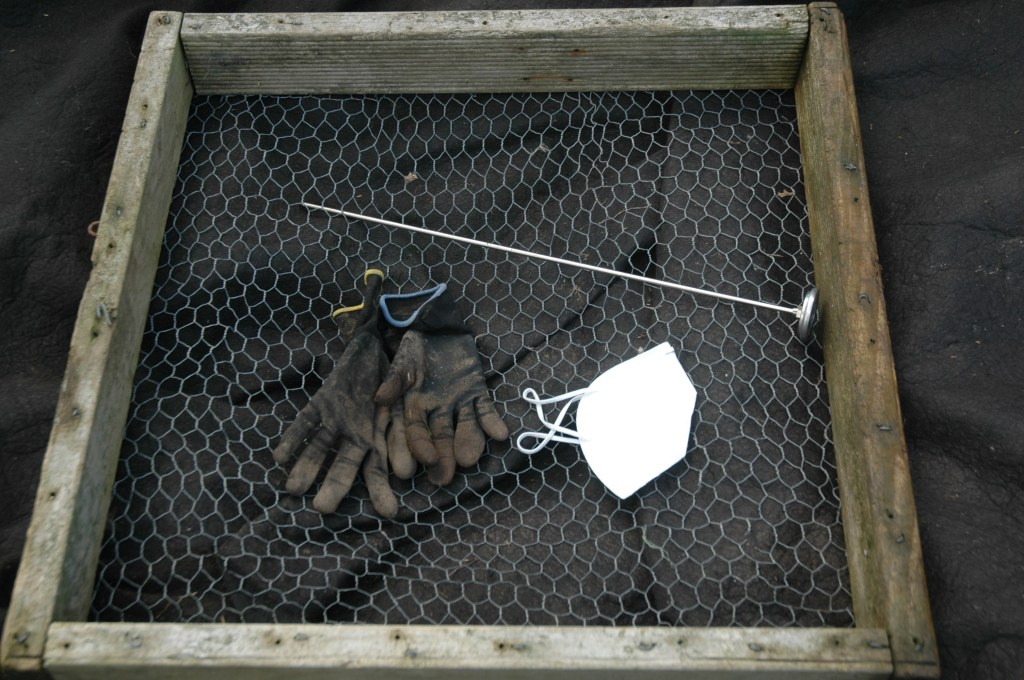
Should you wear gloves when making compost?
Yes, always wear gloves, and that’s not all. While you are perfecting the health of your compost pile make sure you keep your own health in mind. Wear a tight-fitting two-strap mask and garden gloves when making and working with compost and wash your hands well. Keep the compost moist when working with it to reduce dust. Remember a compost pile is full of living organisms and dust that you do not want to breathe in and can result in serious illness.
Growing plants from seeds can be a satisfying experience that allows you to explore a wide range of plant species and choose ones that are best suited to your local climate. It also means you can be in control of the medium your seeds are grown in.
The first decision you’ll need to make when buying seeds is what type to use. Here are some of the different terms you’ll encounter.
Hybrid seeds
Hybrid seeds are seeds from two genetically different plants which have been crossed to produce plants with specific benefits, for example, plants that are tolerant of drought. Seeds of hybrids are not good for seed saving because they contain a mixture of genetic material.
Most hybrid seed packets will have the label F1, which simply means the seeds are from the first generation of the breeding process.
Open-pollinated seeds
These are seeds which produce plants that are pollinated in the environment by birds, insects and other animals or are self-pollinating. Open-pollinated seeds will produce the same plant as the parent plant and be true-to-type unless they cross with another variety of the same species of plant.
Heirloom seeds
Heirloom seeds are those which have been selected, saved and grown over many generations. Heirlooms have a history and story behind them and are considered to be very precious to save for future generations. Heirlooms are open-pollinated and will grow true to type if saved and grown far enough away (this will vary depending on the plant), so as not to cross-pollinate with different varieties of the same species.
There are some amazing people saving heirloom varieties for future generations and many seed suppliers specialise in heirloom seeds. Heirloom seeds are often called heritage seeds.
Seed-raising mix
You may wish to do a little research before you purchase a seed-raising mix. Many seed-raising mixes contain animal products such as blood and bone or chicken manure from animals grown in factory farm conditions or breeds of chicken that endure short painful lives. You can read more about this issue here Key Issues in Chicken Farming. Peat in seed-raising mixes can also have an impact on our climate as we drain and dry peatland (Munro, 2021). You can read more here For Peat’s sake. Non-organic composts usually contain synthetic fertilisers and it can be difficult to know where and how these have been produced. This makes getting a medium to grow seeds tricky if you are trying to grow without animal industry by-products, peat or synthetic fertilisers.
Let’s look at a few different seed-raising medium options and don’t be afraid to experiment with what you have available.
Homemade compost
Well finished hot compost makes a very productive seed-raising mix. You can also add fully composted woodchip to this mix if you have some, but it needs to be composted to the point where there is no chip visible. We use about 3/4 compost, 1/4 woodchip. You can also add a bit of soil to this mix to increase microbiology.
Well finished compost
Once you have mixed the different materials you will need to sift out the larger particles, as seeds germinate better in fine soil. We use a homemade sieve, which is just wire netting on a frame. Once the larger pieces of compost are removed these can be used as a mulch or returned to a new compost heap to continue to break down.
Leafmould
Fallen leaves can also be turned into a seed-raising mix. It does require patience as the leafmould can take two or even up to three years to fully decompose.
Place the leaves in wire netting shaped around a frame, a wooden compost bin or a bag. If you place them in a bag you will need to make sure it has holes to allow the air to circulate. Cutting up the leaves with a lawnmower before you start will help speed up the composting process.
Keep the leaf pile moist and turn it every month or two to increase the process, but you can also just leave it in place. Once the leafmould has broken down you will need to sieve it and add sand, or vermiculite to the mix to increase drainage.
Commercial compost
Commercial green waste compost can be turned into a seed-raising mix with the addition of some drainage materials, for example, vermiculite, perlite, coconut coir or sand. This helps to keep the mix well drained and light enough that the plants don’t get waterlogged. Again adding in some weed-free soil to increase microbiology can be helpful. Some seaweed fertiliser is also useful to increase the fertility of the mix.
Check in with companies about what they use in their mix
I would also recommend getting on the phone and asking around to see what different companies put in their seed-raising mixes and composts. Some will list what is in their compost on the website.
Planting seeds
Once you have your seed-raising mix, the next step is to get those seeds underway in the best conditions possible. Here are a few pointers for planting into trays or pots.
Keep the seeds moist
When sowing in trays, place moist newsprint paper over your trays and keep the paper damp. This means the soil will remain evenly moist and the small seeds won’t be battered by watering. Check regularly and as soon as the plants emerge, remove the paper.
Transplant into larger trays
Some plants such as broccoli, cabbage and cauliflower benefit when transplanted into a second tray (pricking out) before planting in the ground. This gives them a second ‘meal’ to ensure they grow strong. I have found this particularly useful to help prevent damage from slugs and snails as the bigger, healthier plants appear to be less tempting and can withstand a bit of damage if it occurs.
You can use a special pricking out tool to transplant the seedlings into bigger pots, but I just use a kitchen knife. Once the seedlings emerge and have their first true set of leaves (leaves that resemble the parent plant) you can prick them out.
First, make a small hole in the soil of the pot you wish to transfer the seedling to. Next, place the knife down beside the seedling and while gently holding their leaves, lift them out of the tray. Then place them into the new hole and firm the soil. At this stage, you may also wish to give them a seaweed fertiliser boost.
Planting out
When it is time to plant out, give the seedlings a good soak and then make sure they don’t dry out as they establish in the ground. If you move seedlings from a warm spot in a greenhouse or inside the house put them outside for a few days to a week, before transplanting. This will allow a ‘hardening off’ period and reduce transplant shock.
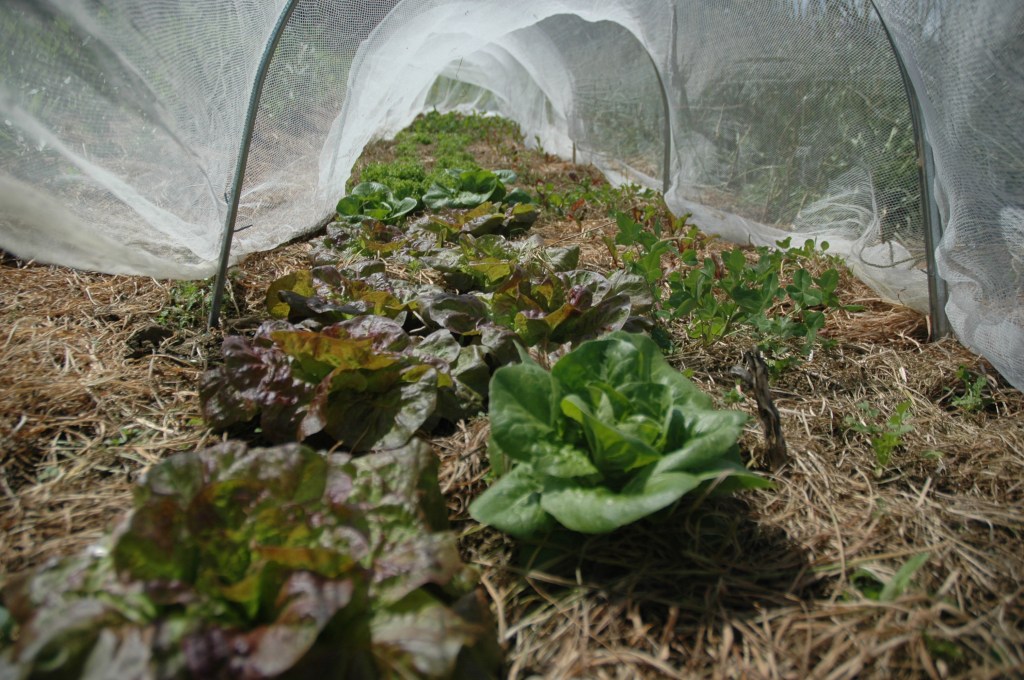
Some seeds are best directly sown onto the garden, such as carrots and radishes. Most bean and pea varieties can also be directly sown, although sometimes it is better to raise as seedlings to be sure they are strong once in the ground and able to resist rotting or slug damage.
Some seeds, for example carrots, can be tricky to grow because don’t cope with drying out. You can give them a helping hand by placing something like a shade cloth over the ground and removing it as soon as the seeds emerge.
Below are some examples of what we plant directdirectly, what we grow in trays and what we prick out into a second pot before planting out:
Back when we were in COVID lockdown I noticed amongst all the big changes and emotional upheavals, a more subtle change; the increase of smells from highly scented cleaning products and fragrances. I previously had not considered the potential effects of our highly scented environment on humans, and I had certainly not before considered how it must be for the non-human animals we share our lives with. What it must be like for a dog, so sensitive to scents, to share our living spaces?
So, what does this have to do with gardening? Well, our private and public garden spaces can provide us with much more than food. Even if you only have room for one plant in a pot, it can still provide a natural, outdoor sensory experience – one which can fill our senses with the beauty of nature. In this post I thought I would share a few of the plants I love to include in the garden, a small collection from the huge selection nature has provided to delight your senses.
Pineapple sage
My favourite fragrant herb is pineapple sage. For some reason, it always reminds me of Christmas and never ceases to give me a lift. Planted in spring it is super easy to care for. It prefers a sunny place and well-draining soil and because it is frost-sensitive you may find it is more of an annual than perennial depending on where you live.
Lemon verbena
Lemon verbena is another favourite fragrant herb, which I try valiantly to keep alive through our frosty winter. As with many herbs, the scent of lemon verbena comes from its leaves when they are crushed. Lemon verbena has delicate white flowers in later spring and grows into a small shrub up to 3 metres tall.
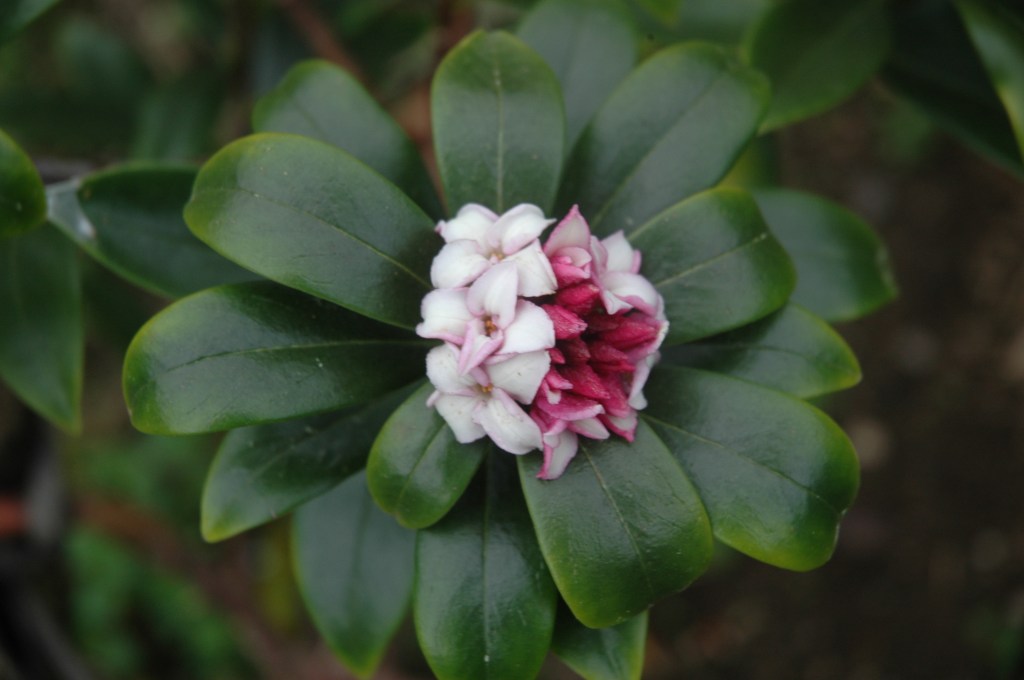
Daphne
The flowers of the shrub daphne produce a fragrance that can lift your spirits on a cold, overcast winter day as it flowers from winter to early spring. If space is limited, you can also grow in a pot and a big pot is preferable so it can stay put as it grows as it does not like to be moved. It also likes a bit of shade but soil that is slightly acidic, not too damp. Don’t overwater in summer.
Jonquils
When looking for some autumn planting, take a look into the many different types of bulbs you can plant that will bring natural and often strong scents into your life. Keep a look out for scented jonquils, you may well need to trial a mix of types to get some truly worth persevering with. The wonderful thing about the bulbs as they will multiply so if your budget does not stretch to buying a lot, patience over the years will provide a growing number of bulbs to divide in autumn.
Citrus
Citrus trees not only provide gorgeous fruit, they also have gorgeous scented blossoms. If you have the room and the right climate (not too frosty!), you can find a range of citrus trees that fruit and therefore blossom, at different times of the year.
Tī kōuka and tarata
In Aotearoa New Zealand we also have some beautiful native trees that produce gorgeous scents. For example, I did not know until recently that what I was smelling in spring evening walks, turned out to be from the tī kōuka (cabbage tree) flowers. In spring they produce large sprays of flowers that in a still early evening, while not overpowering, are gorgeous to experience. Tarata, (lemonwood) also produces a beautiful scent from flowers and a milder scent when you crush a leaf.
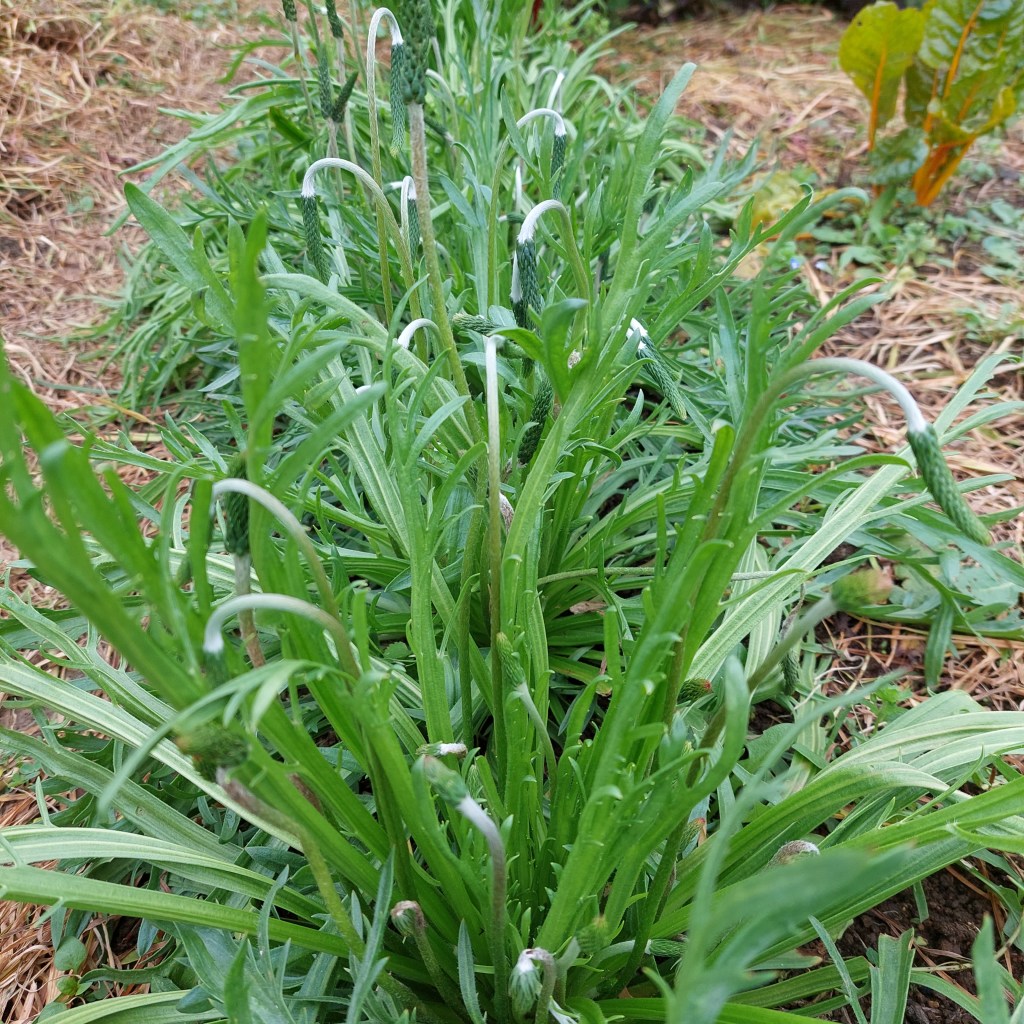
Of course, this is a very short list of what’s available to plant, take some time to investigate the huge range; plants such as lavenders, sweetpeas, hyacinths and gardenias can all go in the garden or pots, and of course, there’s always roses, which you may need to hunt out varieties that retain their fragrance.
So my final word is with anything you plant, take a moment to check out how it will be with the animals and other people in your household. Make sure animals and toddlers won’t be tempted to eat any that may be toxic to them as well! Some scented plants can also cause allergies so before you spend up, a bit of time researching will save you from the sad moment of having to remove plants that cause problems. Your planting plan will have to take into consideration anyone whom you might share your household with.